Sunlight or Studio Light, Which One Is Better?
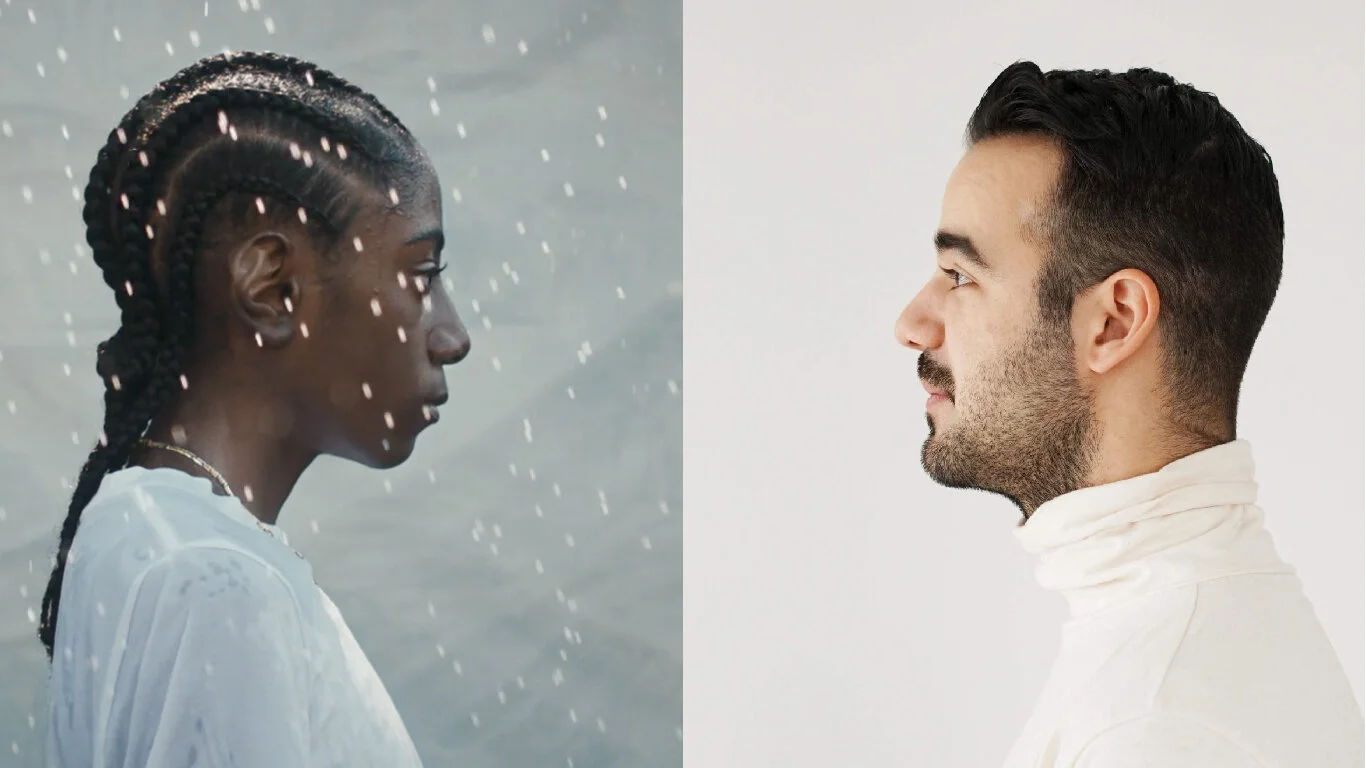
Photo by Chanvre Québec on Unsplash
Between artificial and natural light, there’s no better light source. It all comes down to your vision, and what you have or don’t have available to you.
Sunlight, better known as natural light, and studio light are two sources of light every photographer uses for their photos. In the beginning, you may ask yourself, “but which one should I use?” And with any great question in the world of art, the default answer is, it depends. We are going to break down the pro’s and con’s of each type of light, what situations call for what light, and from there you can make your own decision on which type of light will help capture the best photo.
Pro’s and Con’s

Photo by Alexander Dummer and Joseph Morris on Unsplash.
Natural Light
Pro’s
Abundant
Free
No setup required
Natural “look”
“Golden Hour”
Con’s
Unreliable
Organizing entire shoot around the light
Inconsistent
Hard to soften a large scene with harsh light
Chasing the light
Natural light is my personal go-to light to use for my shoots. It always looks phenomenal if you know how to manipulate it and when to use it. Especially for shooting indoors, even in the middle of the day when the light is harsh, natural light will still look incredible. Natural light is also very cost-effective because there isn’t any, and requires no setup. You just need to do a bit of homework or visit the places you’ll shoot just to make sure it’s what you’re looking for
The thing of course is, the light controls your shoot, you don’t control the light. When asking yourself if you should use natural or artificial light, one thing to consider is how much time do you have. A few portraits at golden hour at one or two locations and maybe 2 or 3 days to shoot? You’re golden (pun intended). Even cloudy days can make for some stunning photos with the clouds evening out the spread of light on your subject, but that may not be the look you’re going for. Or maybe it is, like I said, it depends. What about studio light though?
Artificial Light
Cons
Cost of Equipment
Weight of Equipment
Accessibility to practice
Fixed positions
Pros
Photo consistency
Control of your surroundings
Stylizing with different lights or colors
Not too much running around
Artificial or studio light is a much more reliable source of light for your photo shoots in a lot of ways. The intensity, the look, the colors that you can achieve with studio light will greatly benefit your photography if that’s what you’re looking for in your photos. Shooting in a studio allows you to focus more on the subject whether it’s a person or it’s an object, and stylize things a bit more with different colors or light effects. The best part is that you have the most control over almost every aspect of the shoot. What pieces you decide to add, where the lights placed, what’s your background, and how will the light look on the subject.
The biggest downside to studio lighting, in my opinion, is its cost and along with that, it’s accessibility to practice before you buy. Even beginner level lights are going to be a decent-sized investment, and with so many kinds of lights and the number of lights needed for certain styles and looks, it’s overwhelming to start with it. You also have to have your subjects more or less in a tight position. Having your model walk around a room, trying to shoot with artificial light, and have the photo turn out well it’s quite a recipe to make.
Not Which Is Better, But When?
Now that you know the in's and out’s, up’s and down’s of each light source now the question is, when should I use artificial light and when should I use natural light? This is the better question to ask yourself when you’re deciding on which light source to use. There are certain times, budgets, and scenarios that call for one light or the other. Some are a lot more definitive than others, but I want to go through a few real-life scenarios and explain how I would approach using either studio or natural light. I will say that budget or location constraints will be taken out so that we can think about the legitimate use in each scenario regardless of cost or locations.
Scenario #1: Lifestyle shoot with a model in an apartment setting.
For this, I would still gravitate towards natural light and at least include some reflectors if I needed to fill the shadows in. Even if it was a bigger apartment, which isn’t always the case, a lifestyle shoot itself is supposed to look and feel natural. In an apartment setting, I can rely enough on either harsh full sunlight or diffused natural light from a cloudy day. Maybe we have to shoot close to the window if there isn’t sufficient light, but sometimes you can use the darkness to your advantage for silhouettes, or the lack of light adds to the scene. You can check out my blog about how to capture the moment where I talk about using light to set the mood.
Scenario #2: Editorial shoot for a magazine
This may seem similar to scenario #1, but generally, in an editorial, you’re focusing more on showcasing a person or a product and want to make sure the subject stands out. In this case, it would be helpful to have at least one flash, either on your camera or on a stand to help the subject stand out. Using the artificial light with natural light can help keep some of the natural elements in the photo, but make sure what is being shown stands out. Maybe you or the magazine don’t care about keeping any natural elements in the photo, then, in that case, you may just bring 1 or more lights and be able to put something beautiful together with artificial lights. As I said, the uses will ultimately depend on what you or the client want to capture.
In photography, you tend to see some pretty definitive lines between photographers that use natural light and those that use artificial or studio lights. There are some practical reasons why one might prefer one over the other, but it’s also a good idea to be comfortable with both in case something goes wrong, or you want to try something new. There is no right answer as to which light source is better, it all comes down to your vision, and what you have or don’t have available to you.